Gianni Cito: s261725@studenti.polito.it
Prof. Paolo Bernardi: paolo.bernardi@polito.it
The goal of this project is to design an application where it can be exploited some of the graphics features available on the LandTiger. Basically, we are going to see how to create a GUI interface on our LCD screen setting and labeling images, text and buttons in a specific position of the . Once provided this initial theoretical points, we will move to the creation of a drawing scene where we can draw freehand lines or text, change colors, draw lines, circles and rectangles.
Let’s start describing the points that we are going to see to reach the final goal.
Calibration
The first window that appears in our application is the ‘Calibration’ one. This part of the application is extremely important to calibrate the Touch Panel touching some targets plotted on the screen.
Images
Let’s see how to show images in the LCD screen, as in the above picture.
To import any kind of image inside the application, first of all, we need to convert it in an .c file. To do that we simply use GIMP, an open-source graphics editor. So, let’s see step by step how to convert any image in any format to a .c image file.Import an image in GIMP
- Import the image in GIMP
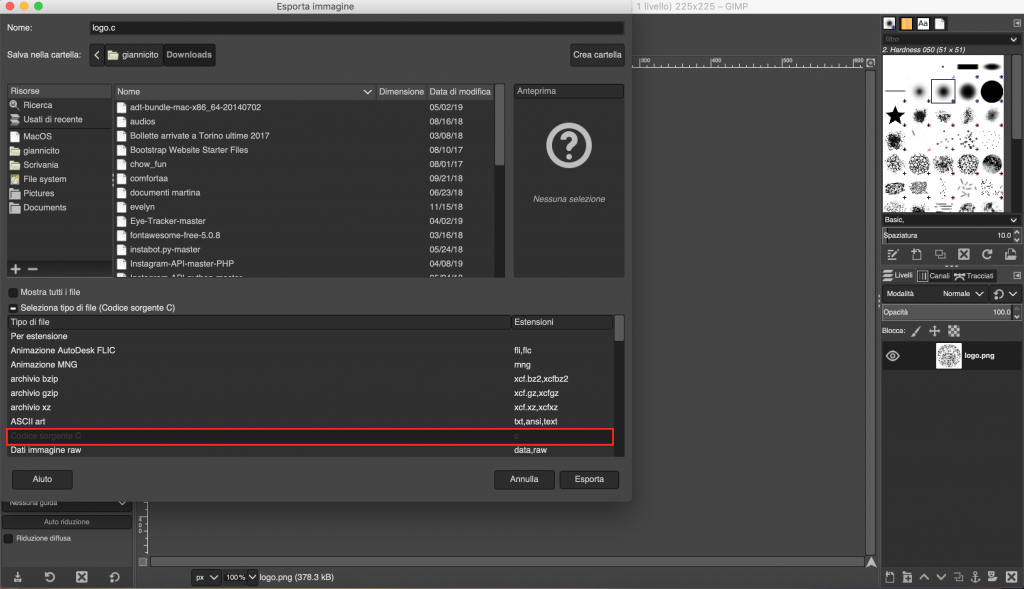
2. Then, File > Export as and in the dialog that appears, select Source Code which has as extension the c files.
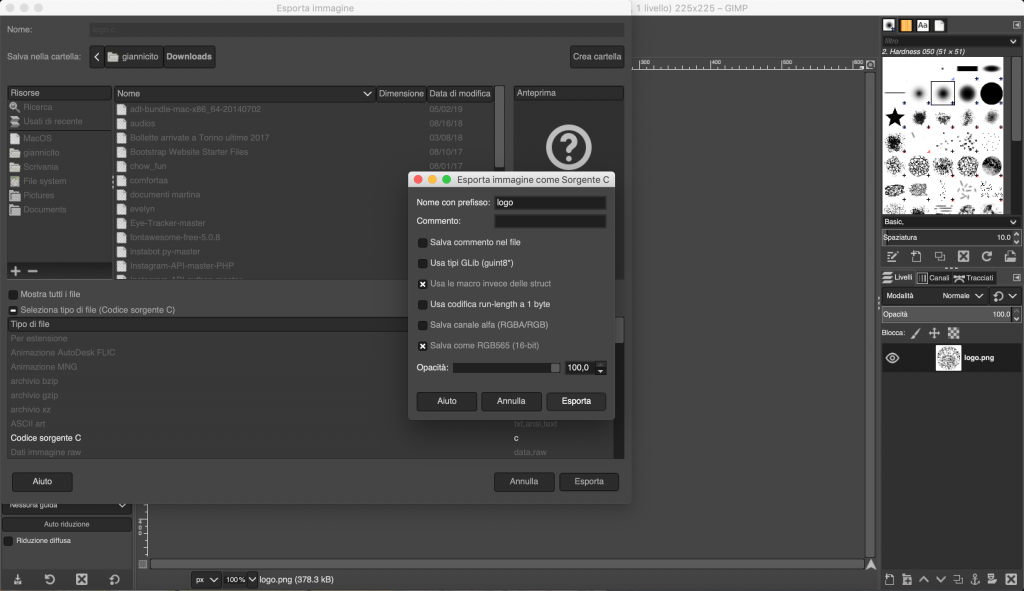
3. In the new dialog, enter a prefixed name, check “Use macros instead of stuct” and “Save as RGB565 (16-bit)” and then hit “Export“.
4. Now a .c file is created and look like this:
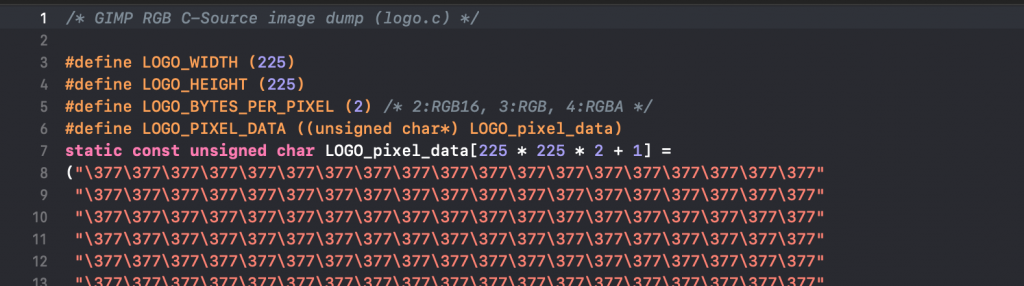
Since the data are static, we can include the .c file inside the location where we want to use the image (#include “image.c”) and then refer the expected BITMAP to the static variable, in our case LOGO_pixel_data.
Buttons
In order to create buttons, I locate an image in the position that I want and then I stored in a linked list the coordinates of the image edges. Doing this, once a click on the Touch Panel will be caught, a function specially created will try to define where a button will have been clicked or not just checking if the coordinates are within the boundaries of the image.
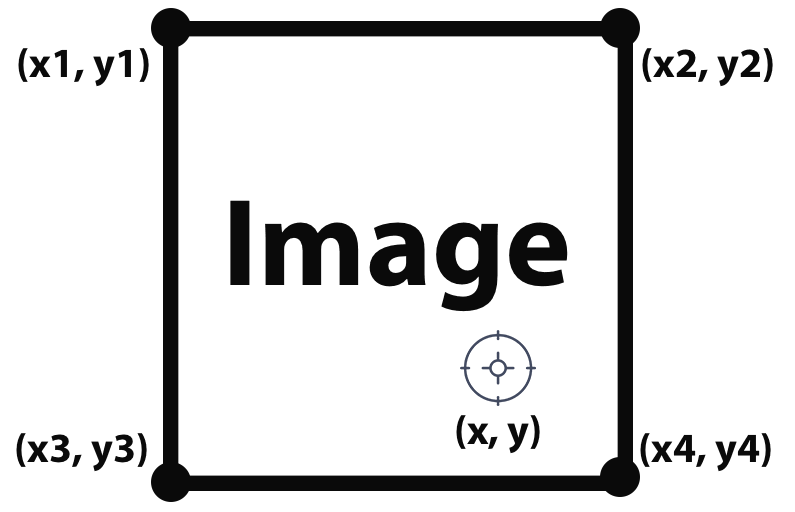
In the above image, we can see the image boundaries coordinates (xN, yN) stored in the linked list needed to detect if the click, depicted by the coordinates (x, y), are inside or outside the image.
Drawing Scene
The drawing scene is the most important scene of this project. Many of the graphics functionalities are used and described right in this scene. We will see how to:
- draw freehand with a brush;
- use a rubber to erase content from the screen;
- draw predefined shapes, likes circles, rectangles or lines;
- change color of the next points that we are going to draw on the screen.
To use one of the functionalities listed above, we need just to press on the buttons depicted in the topbar. A button will be selected when a border appears around it.
Brush
With the Brush we can simply draw on the screen freehand, as depicted in the following screenshot.
Rubber
With the Rubber, instead, we can erase the content already drew on the screen.
Dropdown Menu
Inside the Drawing Scene, that we will see in the next chapter, I also added some dropdown menus to show some further options which belong to the same category, like Circles, Rectangles and Lines belongs all to the Shapes category. The same thing happens for colors.
Pressing for few seconds on buttons with a small arrow on bottom, we can see that a menu appears from the top to the bottom of the screen, giving to the user the possibility to choose one of the other options provided.
An important functionality that I implemented in the dropdown menu is that if the pixels that will be replaced by the dropdown menu are not empty, their content will be stored before showing the menu and then restored before it will disappear.
Lines
To draw a perfect line, you need just to press on the screen two times. The first time for the first point and the second time for the second one. A line will appear joining the two points chose.
To draw lines, I chose the Bresenham’s algorithm and I adapted it to this project.
Circles
To draw circles, as lines, you need to press on the screen two times choosing two points. This time, the first point will be the center, while the second one will be the radius from the center.
Rectangles
To draw rectangles, as for the previous shapes, you need to press on the screen two times. The first point detected will be the top-left edge point, while the second one will be the bottom-right edge point. With these two points, draw a rectangle is very easy. We will use top and bottom coordinates to draw vertical lines, and left and right coordinates to draw horizontal lines.
Colors
The colors menu, allows the user to choose what color use to draw.
As we can see from the above screenshot, the dropdown menu shows 6 colors. These ones are not represented by 6 different drops images filled by different colors, but we have just a single image reused for all the colors.
To do this, I used a movie technique, that is the green screen technique. Using a drop image, filled of red (any color is fine as long as it is different from white and black, because background is white and the borders of the drop are black), we can replace the color we choose with someone we want. I created a specific function to perform this operation, that when encounter the color to replace, it changes to that one desired.